Professional video editing is not about adding more transitions, effects or flashy visuals. It is about turning raw footage into a clear story through purposeful cuts, pacing, sound, colour and visual continuity. A professional video editing workflow usually moves from organising footage and understanding the story to cutting, refining, designing sound, grading colour and exporting the final video for its intended platform.
If you want to learn how to edit videos professionally, you need to understand more than editing software. You need to know why a shot belongs in the timeline, when to cut, how sound changes perception, how colour creates mood and how cinematography affects the footage before editing even begins.
This guide breaks down that process, from the fundamentals of visual storytelling to cinematic editing.
What Does Professional Video Editing Actually Involve?
Professional video editing involves selecting, arranging and refining video and audio footage so that every shot contributes to the intended message, emotion or story.
A typical workflow includes:
Understanding the purpose and audience of the video
Organising raw footage and supporting assets
Selecting the strongest takes
Building the story through a rough cut
Refining cuts and pacing
Adding supporting visuals, graphics and transitions
Cleaning and designing audio
Correcting and grading colour
Reviewing the complete sequence
Exporting the video according to its platform and purpose
The important part is that editing decisions come before effects.
A professional editor therefore asks questions such as:
What does the viewer need to understand here?
What should the viewer feel at this moment?
Can this shot be removed without losing meaning?
Should the next cut feel smooth, sudden or emotional?
Those questions often matter more than knowing where every button is inside Premiere Pro or DaVinci Resolve.
How to do Storytelling through Video Editing?
Storytelling gives video editing its purpose. Without a story, an editor can create technically polished footage that still feels disconnected.
Storytelling through video means arranging images, dialogue, sound, movement and timing so the viewer understands what is happening and why it matters. For a deeper look at how visuals communicate ideas and emotions, explore our guide to visual storytelling.
What Should an Editor Decide Before Cutting?
Before opening the timeline, identify:
The purpose of the video
The target audience
The central message
The beginning, middle and end
The emotional journey
The strongest visual moments
The footage that supports the story
This approach works across films, advertisements, YouTube videos, documentaries, social media videos and branded content.
For short-form content, storytelling may happen within seconds. For longer videos, the same principle applies across a much larger structure.
Good editing does not simply show everything that was filmed. It decides what deserves to remain.
Why Does Cinematography Matter in Video Editing?
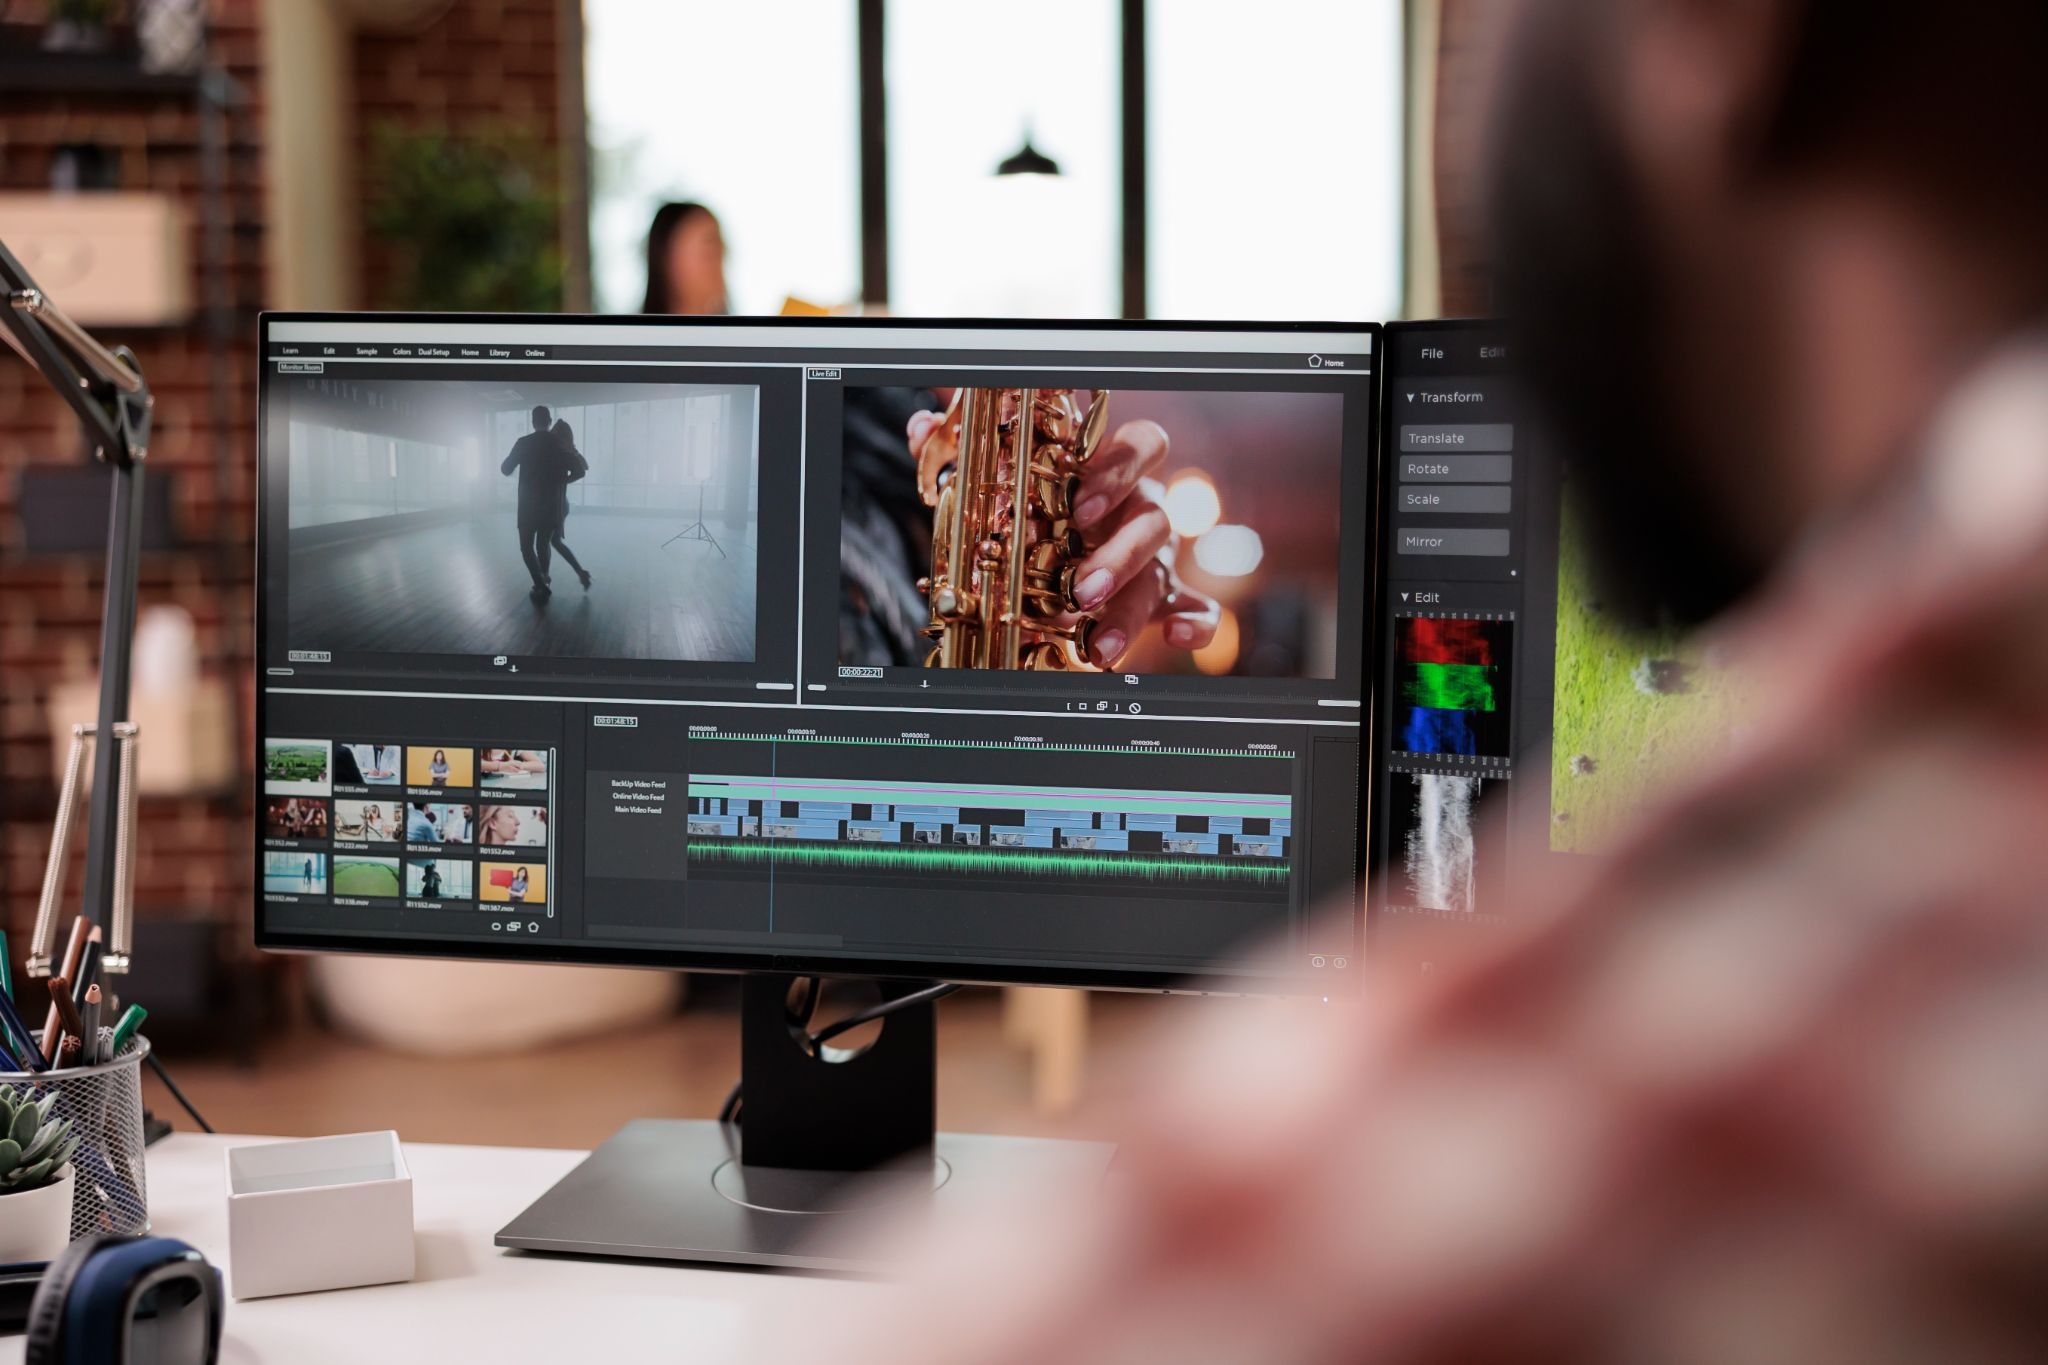
Cinematography determines how the story is captured, while editing determines how those captured moments are arranged.
Cinematography covers visual decisions such as:
Camera angles
Shot sizes
Framing
Composition
Camera movement
Lighting
Lens choices
Depth of field
Visual continuity
This is why professional editing cannot be completely separated from filmmaking.
Imagine an editor receives a wide shot, medium shot and close-up of the same conversation. Those different shot sizes give the editor options for controlling attention and pacing.
A close-up can emphasise an expression, a wide shot can establish location, a moving camera can add energy and a static frame can create calm or tension.
This makes cinematography basics an important part of learning video editing, particularly for anyone who wants to work on films, advertisements, branded content or cinematic videos.
What Are the Most Important Types of Cuts in Video Editing?
A cut determines how one visual moment connects to the next, affecting pace, continuity, attention and meaning.
Some of the most useful cuts include:
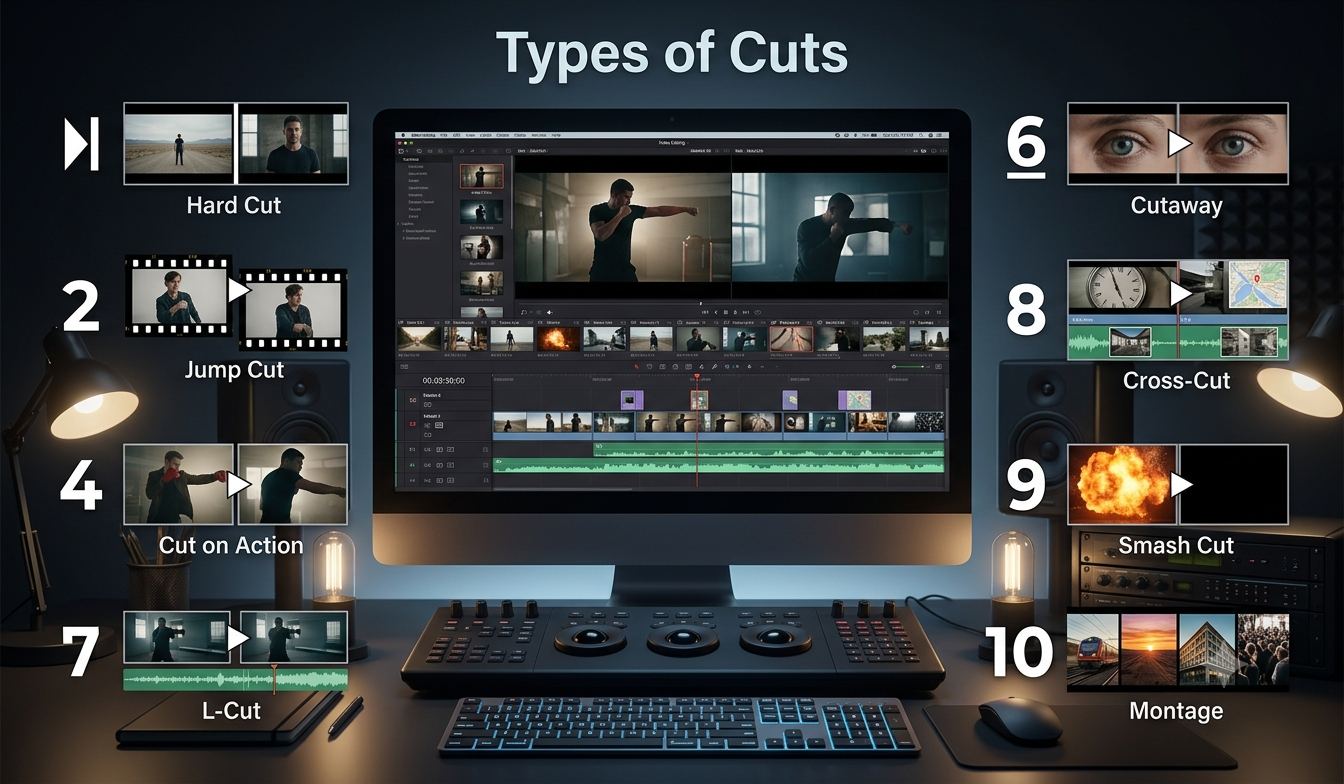
Type of cut | What it does |
Hard cut | Moves directly from one shot to another |
Jump cut | Compresses time or creates a deliberately abrupt feeling |
Cut on action | Uses movement to make a change in shot feel natural |
J-cut | Lets the next scene's audio begin before its visual appears |
L-cut | Allows the previous scene's audio to continue over the next visual |
Match cut | Connects visually or conceptually similar shots |
Cutaway | Shows related detail or supporting action |
Cross-cut | Alternates between different actions or locations |
Smash cut | Creates a deliberately sudden change in scene or tone |
Montage | Compresses multiple moments into a sequence |
The purpose of learning these cuts is not to use all of them in every project. It is to understand what each cut communicates.
A jump cut can compress time. A J-cut can make dialogue flow naturally between scenes. A match cut can connect two ideas visually. Cross-cutting can build tension by moving between simultaneous events.
How Do You Edit a Video Professionally Step by Step?
A practical professional video editing workflow can be divided into seven stages.
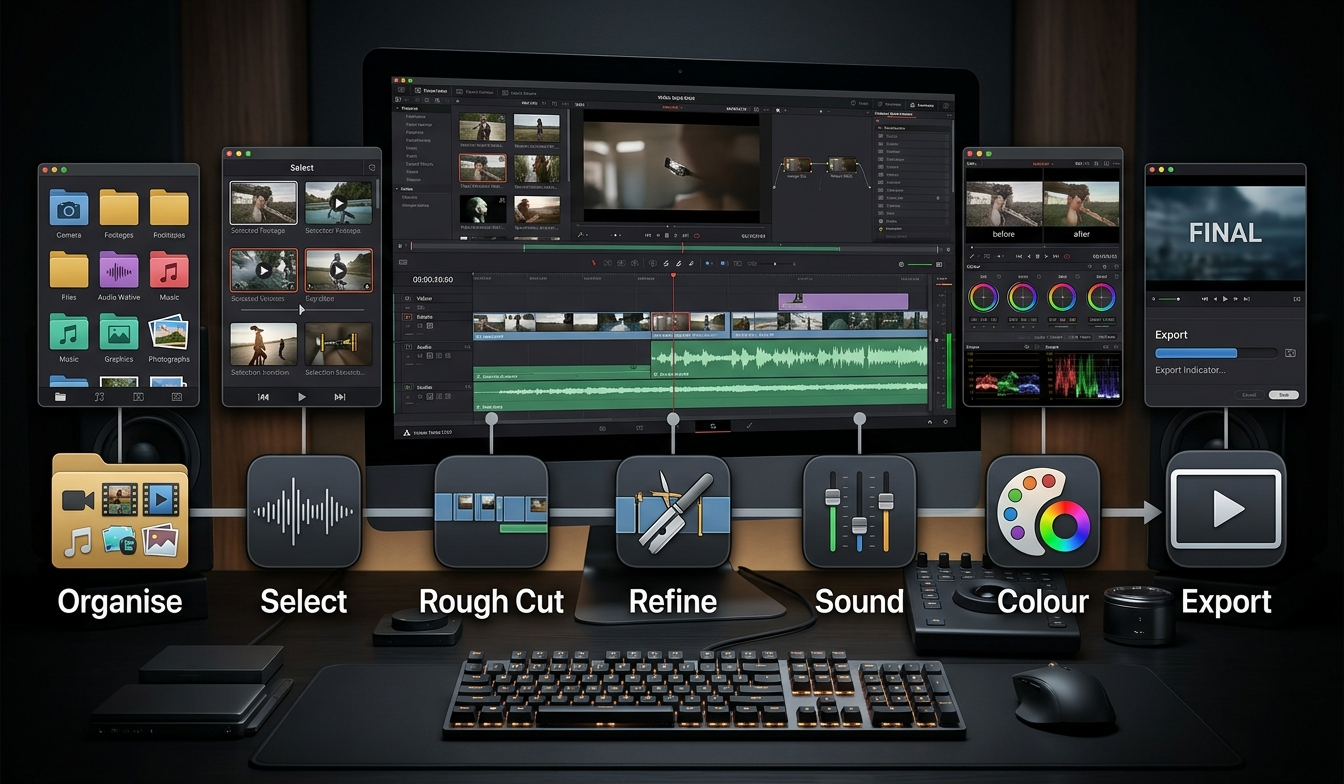
1. Organise the footage
Separate video clips, audio, music, graphics, photographs, project files and other assets.
Rename files where necessary and create a folder structure before editing.
This sounds basic, but poor organisation slows down larger projects and makes revisions harder.
2. Review and select footage
Watch the available footage before making major edits.
Mark strong takes, useful reactions, clean dialogue, establishing shots, B-roll and moments that contribute to the story.
Avoid building the edit around a clip simply because it looks good.
3. Build the rough cut
Create the basic sequence without worrying too much about colour, effects or detailed sound design.
The rough cut answers one question: Does the story work?
If the story does not work in a rough cut, adding effects will not solve the underlying problem.
4. Refine the cuts
Now adjust timing, remove unnecessary pauses, improve continuity and choose the most effective shots.
5. Refine sound
Clean dialogue, balance audio levels, add music where appropriate and introduce sound effects that support the action.
6. Correct and grade colour
Make footage visually consistent first. Then develop the creative colour look.
7. Review and export
Watch the complete video from beginning to end.
Check dialogue, music, colour, captions, visual errors, framing and platform requirements before exporting.
What Is Colour Grading and Why Does It Matter?
Colour grading is the creative process of shaping the colour and visual mood of footage after technical colour correction.
Colour correction and colour grading are related but not identical.
Colour correction focuses on making footage technically consistent. For example, shots captured under different lighting conditions may need adjustments to exposure, white balance or colour consistency.
It can establish a visual identity through:
Colour temperature
Contrast
Saturation
Highlights and shadows
Skin tones
Colour relationships
Creative looks
A warm treatment can create a different emotional impression from a cool, muted treatment. But colour grading should support the story rather than hide weak footage.
Creative Bloq similarly distinguishes technical colour correction from creative grading, noting that grading can influence atmosphere, mood and tone.
Modern editing platforms also make colour work increasingly accessible. Adobe's current Premiere Colour Mode, for example, includes tools for tonal adjustments, colour styles and more controlled grading workflows.
What Is Sound Design in Video Editing?
Sound design is the process of shaping dialogue, music, ambience and sound effects so that audio supports the visual story.
This is one of the areas beginners often underestimate. A video can have excellent footage and still feel amateur if the audio is inconsistent.
Sound design can include:
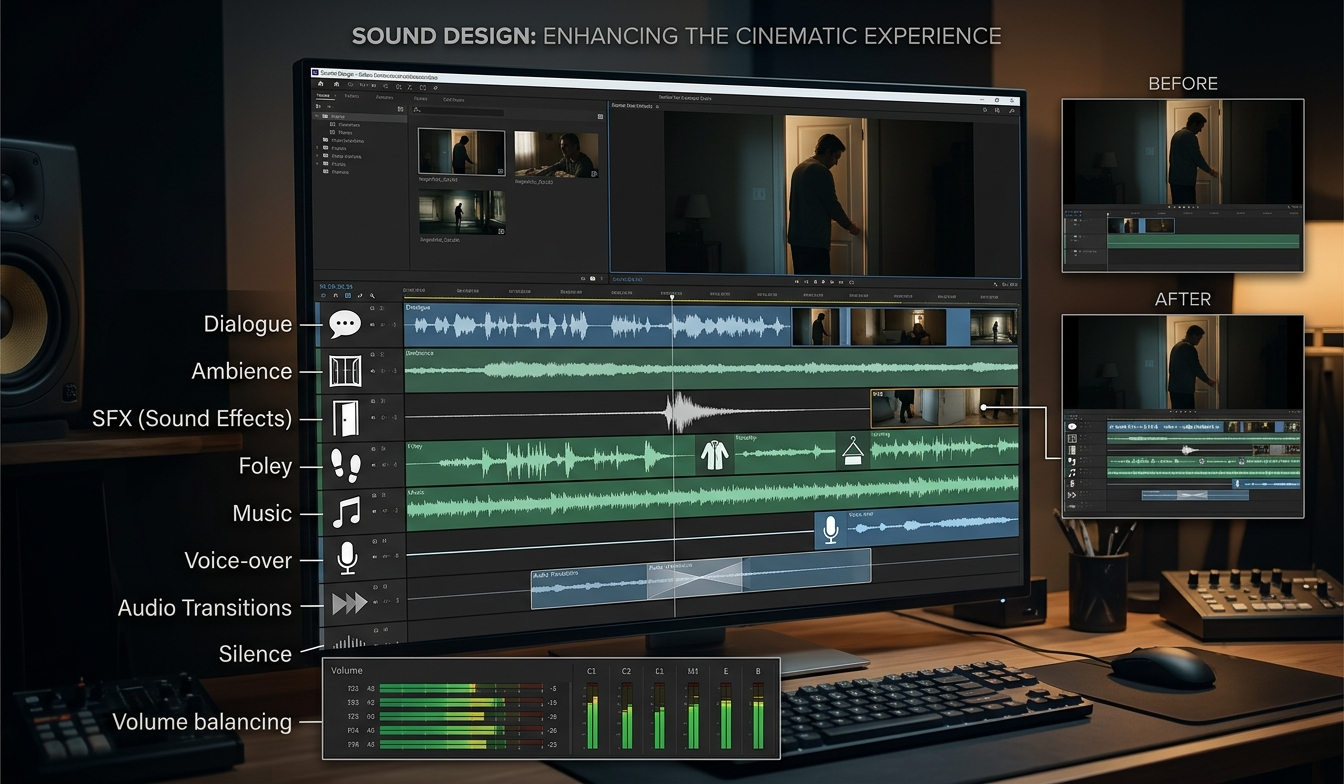
Dialogue cleanup
Background ambience
Sound effects
Foley
Music
Voice-over
Audio transitions
Silence
Volume balancing
Consider a scene where someone closes a door. The visual action itself may be simple. Adding the right door sound, room ambience and music can make the moment feel much more convincing.
The same principle applies to social media videos.
A subtle sound effect can emphasise an on-screen movement. A pause in music can create anticipation. A J-cut can introduce the next scene before the viewer sees it.
This is why sound design and editing should not be treated as separate afterthoughts.
What Is Cinematic Editing?
Cinematic editing uses pacing, shot selection, composition, sound, colour and visual continuity to create a deliberate emotional experience.
It is not simply slow motion, black bars, dramatic music or a teal-and-orange colour preset.
A cinematic edit can use:
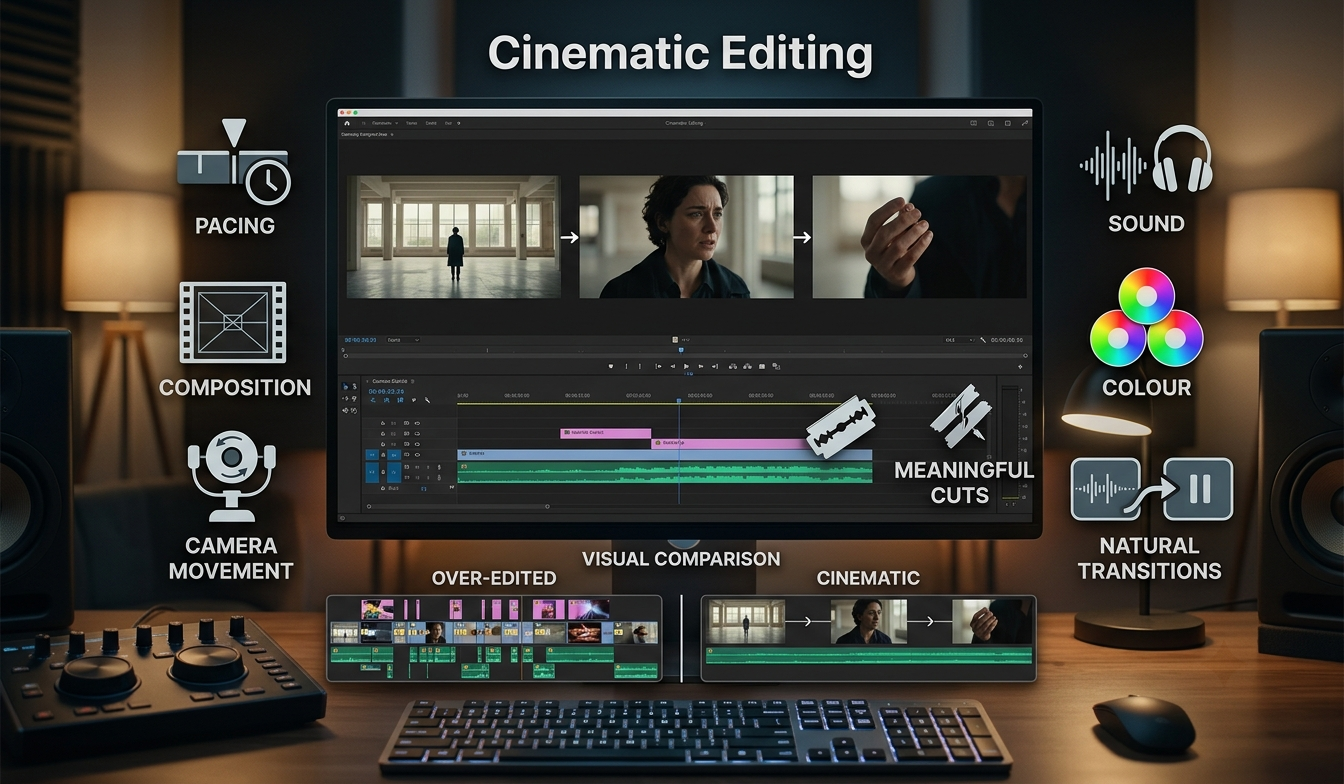
Intentional pacing
Strong shot composition
Controlled camera movement
Meaningful cuts
Layered sound
Consistent colour
Visual contrast
Strategic silence
Natural transitions
That distinction matters because cinematic editing is an outcome of many connected decisions.
A beautifully graded video with weak storytelling is not automatically cinematic.
A simple hard cut between two well-composed shots can feel more cinematic than an edit packed with transitions.
What Makes a Video Edit Look Professional?
A professional video edit usually feels intentional.
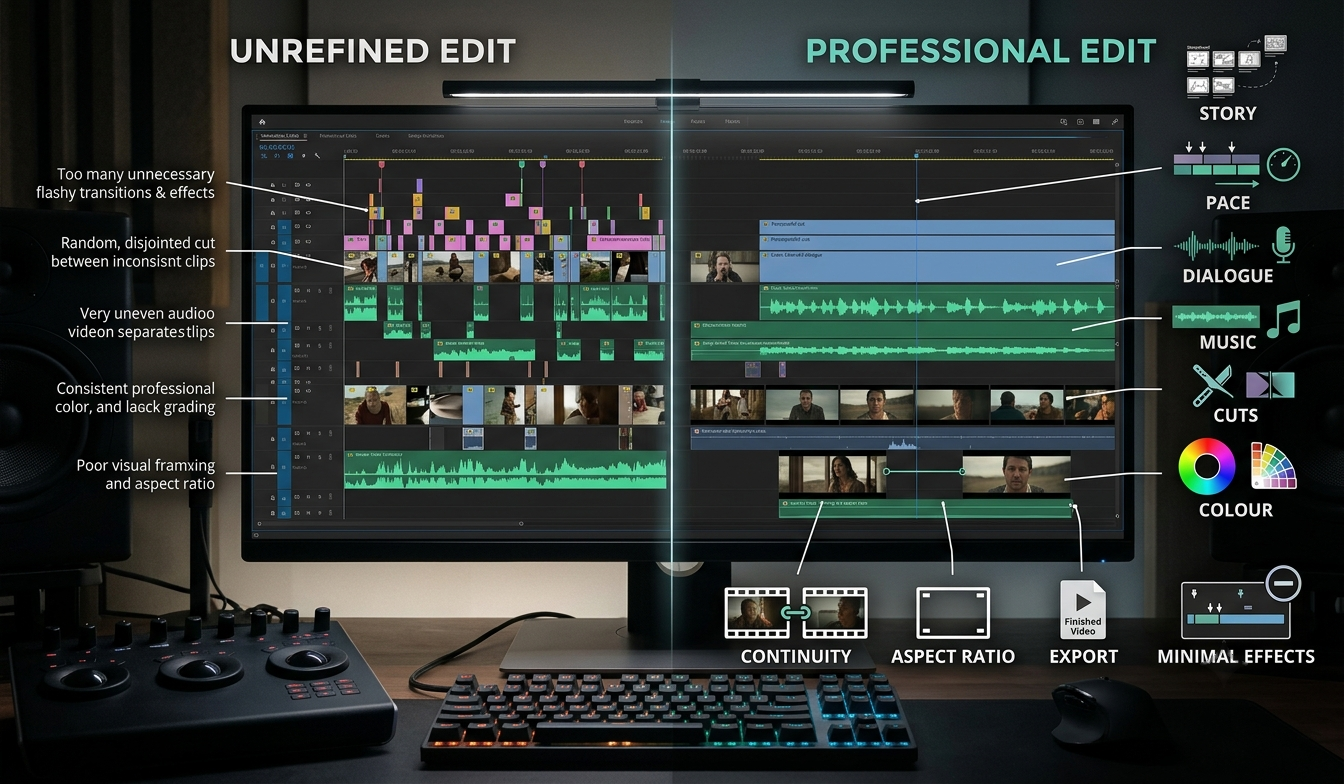
That means:
Every cut has a reason.
Every sound supports the scene.
Every colour adjustment serves the visual direction.
Every shot contributes something.
Some practical signs of a stronger edit include:
Clear storytelling
Consistent pacing
Clean dialogue
Appropriate music
Purposeful cuts
Consistent colour
Good visual continuity
Correct aspect ratio and export settings
Minimal unnecessary effects
Professional editing is therefore less about adding more and more about removing what does not help.
Which Software Can You Use to Learn Professional Video Editing?
The software matters, but the editing principles matter more.
Common professional and widely used options include:
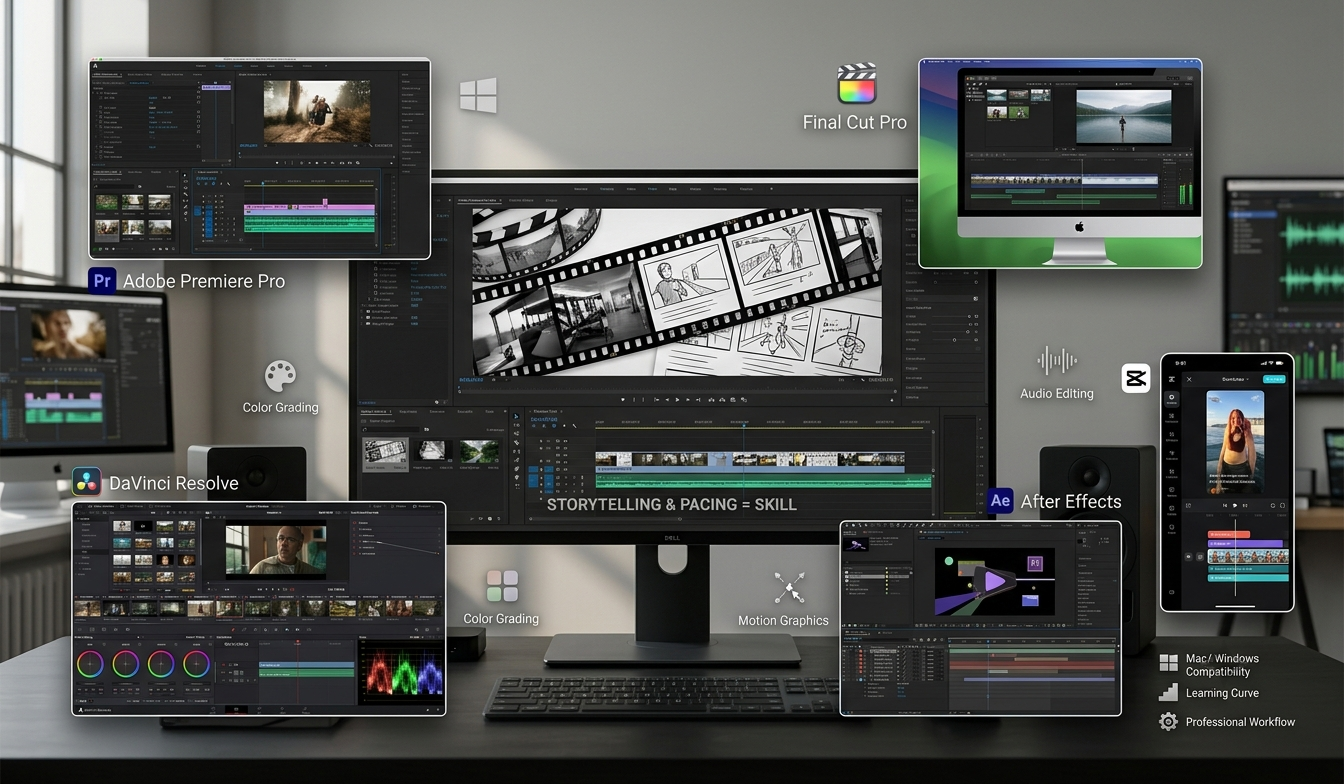
Adobe Premiere Pro
DaVinci Resolve
Final Cut Pro
After Effects for motion graphics and visual effects
CapCut for short-form and accessible editing workflows
The right software depends on the type of work, operating system, project requirements and existing skill level.
For example, DaVinci Resolve combines editing and colour tools, while Adobe Premiere Pro is widely used across professional video workflows. Current software guides also highlight differences between platforms based on features, learning curve and intended use.
For someone learning professionally, however, software should be treated as a tool rather than the skill itself.
Knowing Premiere Pro does not automatically teach storytelling. If you're still deciding which tool to start with, explore our guide to the best free video editing software to compare accessible options for different editing needs.
How Can You Learn Video Editing Professionally in Calicut?
If you are looking to learn video editing in Calicut, a course should ideally cover more than software tutorials.
A useful curriculum should connect storytelling, editing, cinematography, cuts, sound design, colour grading and practical projects.
HACA Design School's current 3-month Video Editing Course in Calicut covers storytelling and pacing, cutting and timing, sound design, cinematic colour grading, cinematography basics and AI-supported editing workflows.
For learners who want broader creative skills, HACA's Creative Design & Communication course combines video editing with graphic design, motion graphics, UI/UX and branding. Its current curriculum specifically lists storytelling, purpose of editing, types of cuts, sound design, colour grading, cinematography basics and filmmaking.
That broader approach matters for students who want to understand how video fits into advertising, branding and visual communication rather than learning editing in isolation.
What Should You Learn First to Become a Better Video Editor?
Start with storytelling and editing fundamentals, then gradually add technical and creative layers.
A practical learning order is:
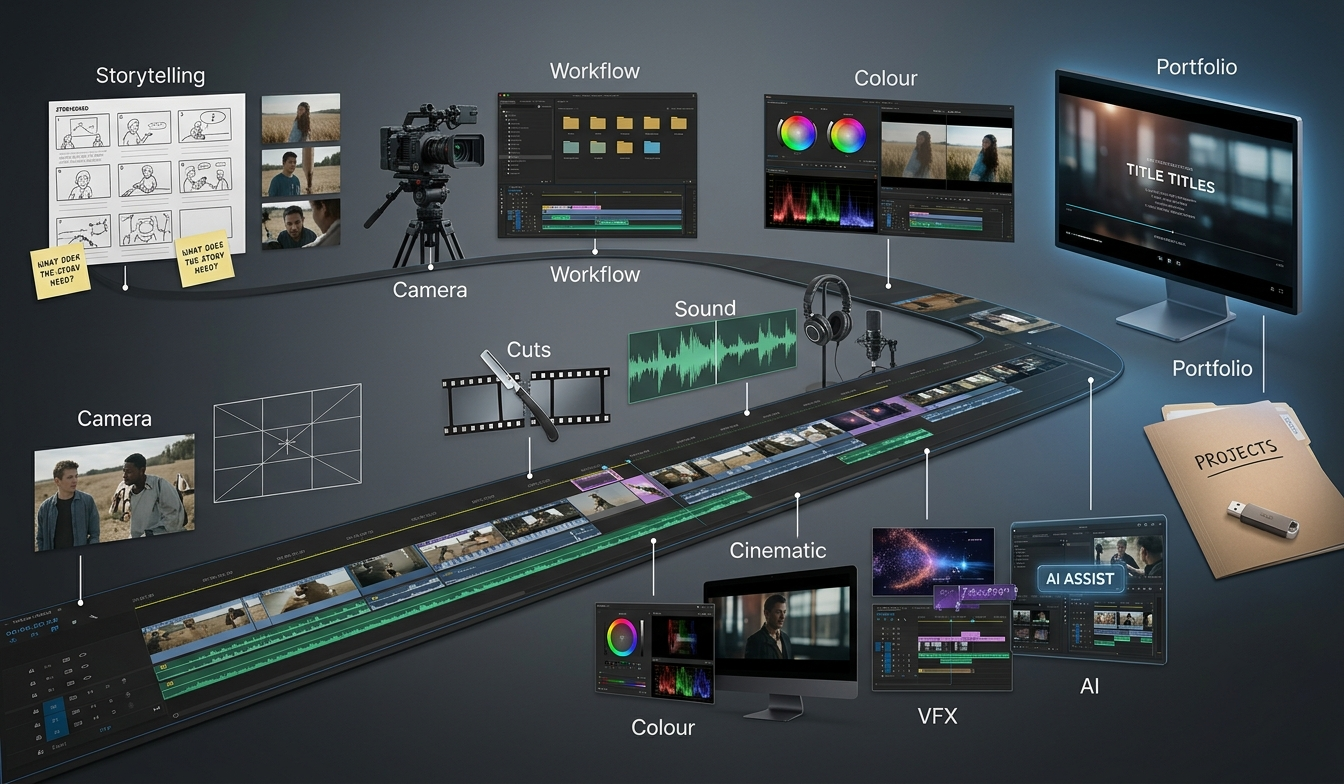
Storytelling through video
Cinematography basics
Professional editing workflow
Types of cuts
Sound editing and sound design
Colour correction and colour grading
Cinematic editing
Motion graphics and visual effects
AI-assisted editing workflows
Portfolio projects and real-world briefs
This order helps because each stage builds on the previous one.
You first learn what the story needs.
Then you understand the footage.
Then you learn how to arrange it.
Then you refine the experience through cuts, sound and colour.
Finally, you develop a visual style.
To Conclude
Professional video editing is ultimately a decision-making skill.
Software gives you the ability to cut footage, adjust colour, manipulate audio and add effects. But editing judgement decides whether those tools improve the video or simply make it busier.
The strongest editors understand the relationship between storytelling, cinematography, cuts, pacing, sound and colour.
Start by understanding the story, then learn how to structure footage, make purposeful cuts, shape sound, refine colour and create cinematic visuals. Software is simply the tool that helps you put these decisions into practice.
Ultimately, professional editing comes down to one skill: knowing what to keep, what to remove and why it belongs in the story.
That is also why learning video editing through practical projects can be more useful than learning individual software features in isolation. HACA Design School's current approach places video editing inside a broader creative curriculum and emphasises practical work, portfolio development and industry-oriented learning.
If your goal is to build a career in video editing, start by learning to tell a story.
Then learn how to cut it.
Then learn how to make the audience feel it.
That is where editing moves from operating software to creating communication.